This blog post is to explain the way I have implemented the Azure Key Vault to store Sitecore connection strings as secrets and use them in Sitecore App configuration. This setup has been tested in Sitecore 10.2 XP setup hosted in Azure.
Create an Azure Key Vault
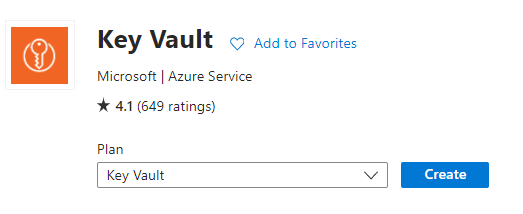
Create a new Azure Key Vault and select the pricing tier based on your traffic.
- Go to your resource group where you have Sitecore setup
- Create a Keyvault
3. Configure the Key Vault with necessary settings like Region, Pricing Tier, etc, and Create the Key Vault
Your new Key Vault is now Created
Enable Identity on All Sitecore Web Apps
- Go to the web app in your Sitecore installation (E.g, CM App)
- Select Identity
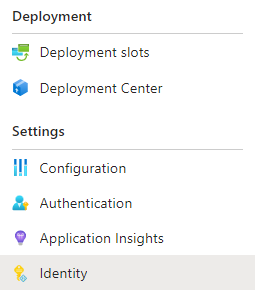
3. Turn on System Identity and Save it
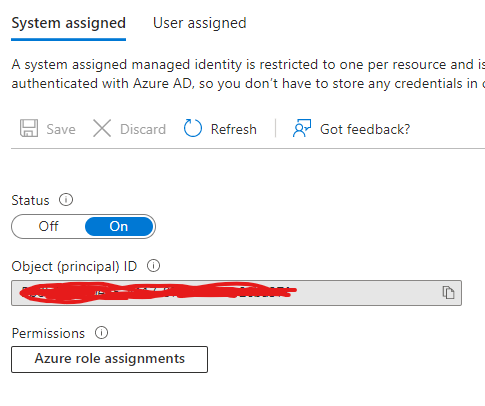
4. Repeat the steps in all Sitecore Web Apps
Configure Key Vault Access to Apps
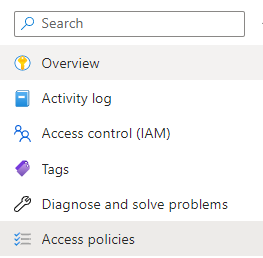
- Go back to Azure Key Vault
3. Click on Create
4. Select Get in Secret Permission
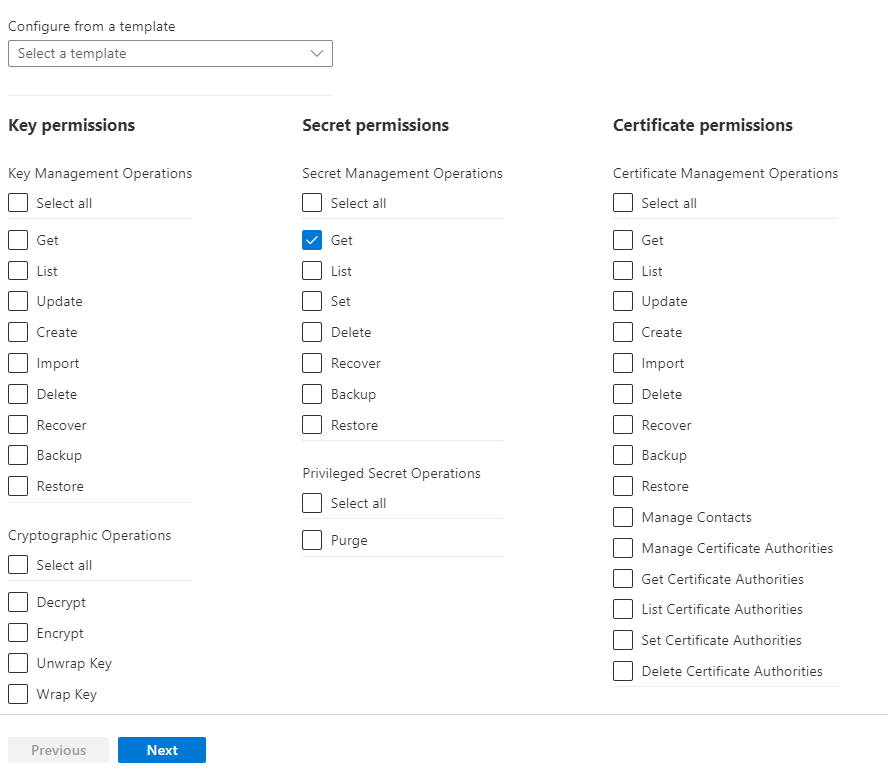
5. Click Next and select Principal
6. Select the Items with System Assigned Identity of the Web Apps (all Sitecore Web Apps).
7. Review And Create the item.
8. This will map the security between Key Vault and Web Apps.
Add Connection String to Key Vault
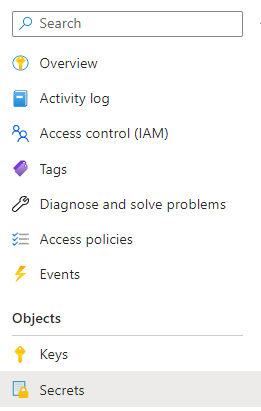
- Open Key Vault
- Select Security Tab
3. Click Generate or Import
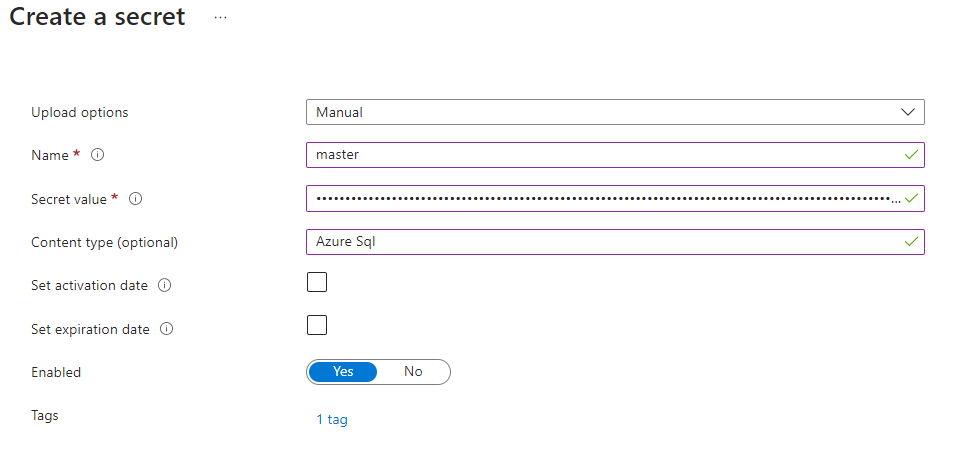
Set the Upload option to “Manual”
Name to a recognizable name. (E.g, master for master database connection string)
You can set the Content type if you wish to
Secret to Master Database connection string
Ignore “Set activation date” and “Set expiration date”
Set Enabled to “Yes”
Add Tags for the Secret if required
Click Create
The new secret is now created

4. Capture the url for the secret by opening the newly created secret and clicking on the version and copy the secret identifier (you will have only 1 version to start with)

https://xxxxxxxxkeyvault.vault.azure.net/secrets/master/XXXXXXXXXXXXXXXXXXXXXXXXXXNote: If you remove the version identifier after master in the above identifier if you want to use the latest version of the secret.
5. Repeat the same for all connection strings in App_Config/ConnectionString.config from all apps. there is where you can skip duplicates connections strings from other apps. E.g, Both CM and CD will have a web database connection string, but you need only 1 secret for both. Also, you can have one client certificate connection string for all the client certificates connections like:
sitecore.reporting.client.certificate
xconnect.search.certificate
xdb.marketingautomation.operations.client.certificate
xdb.marketingautomation.reporting.client.certificate
xdb.referencedata.client.certificate
All this five connection string will be added as one secret with your standard thumbprint as below
StoreName=My;StoreLocation=CurrentUser;FindType=FindByThumbprint;FindValue=CERTIFICATETHUMBPRINTVALUE6. You can add the WEBSITE_LOAD_CERTIFICATES in App settings as a single secret and reuse the same in all Apps this will make it a lot easier to update the certificate thumbprint when you renew your website certificate by updating just 2 secrets instead of updating every app (note: you still have to update the job connection string/appsetting configs for jobs)
7. Capture all secret Identifiers
Configure Secrets in Web Apps
Now that we added all the secrets from all web apps, Its time to update the app configurations and remove the connections from connectionstring.config
- Open your web app (E.g, CM)
2. Click New Connection String
3. Set connection string name (as in connectionstrings.config)
4. Set the Value as shown below
@Microsoft.KeyVault(SecretUri=https://xxxxxxxxxsecretvault.vault.azure.net/secrets/master)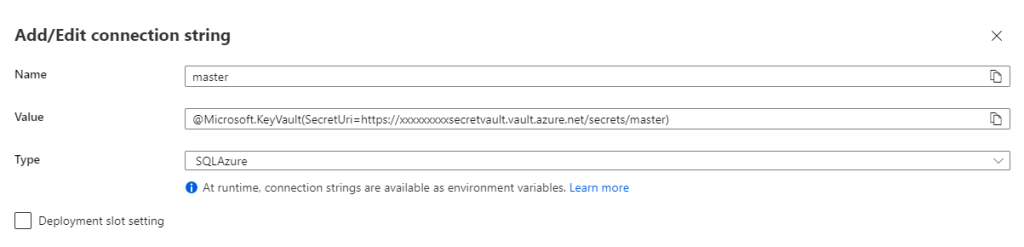
Note: If you are already using a connection string in configuration, replace the values
5. Repeat the same for all connection strings and app settings (if any like WEBSITE_LOAD_CERTIFICATES).
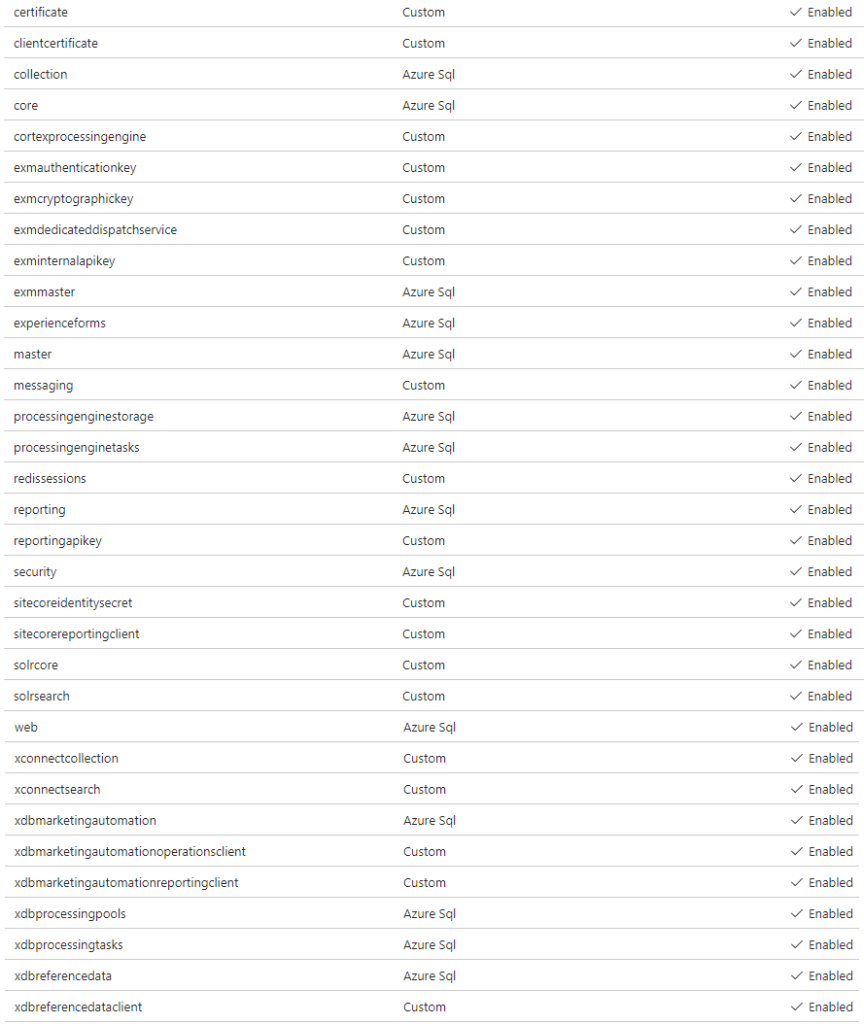
6. Once you finish adding all the settings, Click Save. It might update straightaway and you will see the settings as below with green tick

7. If you don’t see the green tick next to Key vault Reference, click on Refresh

8. Even after refresh, if you don’t see the green tick, you have to restart the app.
9. Repeat the above steps for all connection strings in all apps.
Now you are all set, your Sitecore instance will be using connections from Azure Key Vault.
You can use this Microsoft document for Troubleshooting.